Smart Cupping Massager: 9 Levels, Heat & Red Light Guide
Smart Cupping Massager with 9 Vacuum Levels and Red Light Heating
A smart cupping massager blends adjustable vacuum suction with gentle heat and red light to create a simple, at-home routine for relaxing tight areas and supporting circulation after long days or tough workouts. Instead of traditional cups that rely on manual pumping (or older methods involving fire), a powered device delivers repeatable suction levels, built-in timing, and an easier release—so sessions feel more controlled and less intimidating. Below is a practical guide to how it works, how to use it comfortably, and how to choose settings for different body areas.
What a smart cupping massager does
At its core, a smart cupping massager uses controlled negative pressure (vacuum suction) to gently lift soft tissue. This “lifting” sensation is what many people associate with modernized cupping routines—often used for muscle tightness, post-workout recovery, and general relaxation.
- Uses controlled negative pressure (vacuum suction) to lift soft tissue, similar to modernized cupping techniques.
- Adds warming heat to help loosen tight muscles and improve comfort during the session.
- Includes red light to complement a soothing, recovery-focused routine.
- Designed for quick, repeatable sessions at home without open flames or manual pumps.
- Best suited for muscle tightness, post-workout recovery, and general relaxation; not a replacement for medical care.
For a broader overview of complementary wellness approaches and safety considerations, the National Center for Complementary and Integrative Health (NCCIH) is a helpful reference point.
Features to look for (and how they affect comfort)
Comfort matters more than intensity. The goal is a steady, tolerable pull that you can repeat consistently—without chasing the strongest setting.
- 9-level suction: gradual steps help find a “strong enough but not painful” setting, especially for first-time use.
- Heat control: gentle warmth can reduce the urge to crank suction too high just to feel an effect.
- Red light function: often used in wellness devices to support a relaxing routine; prioritize comfort and consistency over intensity.
- Cup shape and rim: a softer rim can improve seal and reduce pinching on bony areas.
- Controls and safety: clear buttons, auto-off timing, and reliable release make the experience safer and less stressful.
- Portability: compact design and simple charging can make short daily sessions more realistic than occasional long sessions.
Heat therapy should feel pleasantly warm—not hot. If you’re new to using warmth for sore muscles, Cleveland Clinic’s overview of heat therapy basics is a solid starting point for general best practices.
How settings change the feel on different areas
| Area | Recommended starting suction | Heat | Session length (typical) | Notes |
|---|---|---|---|---|
| Upper back / traps | Low to medium | On | 5–10 min | Avoid spine; move slowly if using glide technique with oil. |
| Lower back | Low | On | 3–8 min | Avoid kidneys and spine; keep pressure gentle. |
| Shoulders | Low | Optional | 3–6 min | Use smaller movements; stop if sharp pain or numbness. |
| Thighs / glutes | Medium | On | 5–12 min | Larger muscles usually tolerate more suction than arms. |
| Calves | Low to medium | Optional | 3–8 min | Do not use over varicose veins or tender spots. |
| Arms | Low | Optional | 2–5 min | Bruising can happen more easily; keep levels conservative. |
How to use it: simple routine for consistent results
A comfortable routine usually beats an intense one. Think “short and repeatable,” especially during the first week.
- Prep: clean, dry skin; add a small amount of massage oil if planning to glide rather than hold in place.
- Start low: begin at the lowest suction level for the first 30–60 seconds to test tolerance.
- Choose a method: static cupping (hold in one spot briefly) for focused tightness; gliding cupping (slow movement) for broader areas.
- Add heat/red light gradually: turn on warmth after the seal is stable; keep heat gentle on sensitive areas.
- Keep sessions short: first week is often best at 3–8 minutes per area, then adjust based on comfort.
- End correctly: use the release function before lifting the cup to avoid skin pulling.
- Aftercare: hydrate, keep the area warm, and avoid aggressive stretching immediately if the tissue feels tender.
If you’re using the gliding method, move slowly and keep the cup traveling along fleshy areas rather than hovering near bones. If the seal repeatedly breaks, reduce suction and add a tiny bit more oil—too much oil can also make it slip unpredictably.
Comfort and safety notes
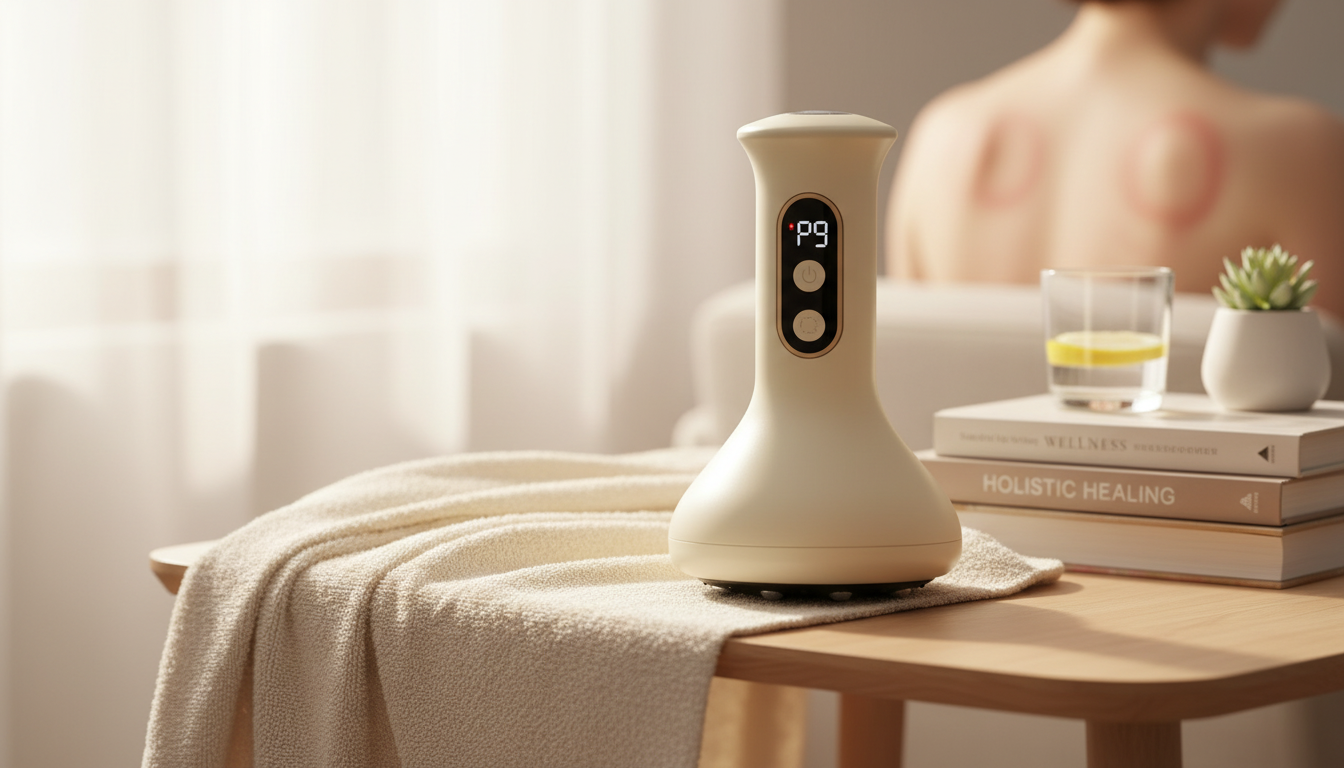
Product spotlight: Smart Cupping Massager – 9-Level Vacuum Therapy with Red Light Heating
For an easy, home-friendly setup, the Smart Cupping Massager – 9-Level Vacuum Therapy with Red Light Heating is built around gradual suction control and a soothing warmth + red light combination—helpful for users who want a modern alternative to manual cupping sets.
Quick specs and buying details
| Item | Details |
|---|---|
| Name | Smart Cupping Massager – 9-Level Vacuum Therapy with Red Light Heating |
| Price | $18.51 USD |
| Availability | In stock |
| Product page | View product |
Common mistakes (and quick fixes)
More in-stock picks
- Vintage Design Fashion Shoulder Messenger Bag
- Respect the Budget, Respect Yourself: Setting Money Boundaries Without Guilt
FAQ
Does cupping leave marks, and how long do they last?
Redness is common and bruising can happen, especially with higher suction or longer holds. Marks often fade in several days but can last up to a couple of weeks depending on skin sensitivity and session intensity; starting low and spacing sessions usually helps.
What suction level should be used for the first session?
Use the lowest setting at first, then increase gradually after 30–60 seconds only if it still feels comfortable. Aim for a gentle pull rather than pain, and keep the first sessions short (about 3–8 minutes per area).
Can heat and red light be used at the same time as suction?
Yes—if the device supports it, they can be combined. Turn on heat after you’ve established a stable seal, keep warmth low for sensitive skin, and stop if the area feels overly hot or irritated.


Leave a comment